


🏡 Shield your doorstep in style—rain or shine, be the envy of the block!
The SONGMICS Polycarbonate Door Canopy (275 x 90 cm) is a durable, weather-resistant shelter crafted from heavy-duty 5mm polycarbonate with aluminium edges and PPO plastic brackets. Designed to withstand temperatures from -40°C to 120°C, it offers reliable protection against rain, snow, and heat. Its curved design ensures efficient water drainage and reduces rain noise, while the lightweight, modular construction allows easy installation and expansion to fit various outdoor spaces.


| ASIN | B00F0AQJGE |
| Brand | SONGMICS |
| Brand Name | SONGMICS |
| Colour | Transparent and grey. |
| Customer Reviews | 4.1 out of 5 stars 341 Reviews |
| Fabric Type | Polycarbonate |
| Global Trade Identification Number | 06955880348398 |
| Included Components | 1 |
| Is Assembly Required? | Yes |
| Item Type Name | Songmics 275 x 90 cm Pent Canopy Door Canopy Front Door Canopy GVH279 |
| Manufacturer | SONGMICS |
| Manufacturer Part Number | Gvh279 |
| Material | Aluminium , Plastic, Polycarbonate |
| Material Type | Aluminium, Plastic, Polycarbonate |
| Model Number | GVH279 |
| Operation Mode | Manual |
| Size | 275 x 90 x 30 cm |
| Style | Modern |
| Style Name | Modern |
| Unit Count | 1000.0 gram |
M**N
Sturdy and good value for money.
Really good piece of kit. Took about 4 hours for 2 people to put up and looks very nice. The polycarbonate supports are very sturdy and the clear poly sheets are slightly Smokey colour. All in all very pleased with it. Located over the back door and makes a huge difference when it is raining and windy. I probably would not use this over a front door, but this is because I would prefer something a little more elaborate, maybe in aluminium, but this one is really good value for money.
C**T
Rear porch
The porch was bought to give a little cover to the back door from the rain. Also to give to Cctv camera some protection from the elements. The product arrived promptly and the components are good quality and well made. The instructions are easy to follow and the pieces all fit together easily. There is however a couple of points I would add to the fitting instructions. 1) before fitting and assembling the parts, check the clearance for things like boiler outlets, cctv camera🤔 with the minimum 12cm from the top of your door/doors 2) mark out your bottom line and top lines for the support arm placements. 3) this point is from personal experience and I would not want to suggest that Songmics instructions won’t work for the the multi section build like mine, or for you to do anything to affect your guarantee, but if you are doing the installation on your own, you simply cannot put all the sections together and then instal it. I’m lucky in that I have a ladder platform so you can stand and walk along to do various bits. Much easier than just a ladder. 4) for the multi section builds, I built the first section and then offered it up to where I marked the holes to ensure that they were inline. Then I drilled the holes. In the instructions says to use a 9.5mm drill bit (depending on whether you’re drilling into wood/metal/masonry) make sure the appropriate bit is used. Additionally, use a pilot hole that’s smaller to ensure you get accurate hole placement when drilling in masonry. Check the bolts against your drill bit. I used a 10mm and the holes were very snug and needed a good hit with the hammer to seat them correctly. Then I did each section working from the first one. I didn’t screw the first section bolts in tight to enable a bit of flex if needed. As you work along fitting each section make sure they line up with your markings and that you are 100% level as you go along. Fitting and installation isn’t hard and if you’re good at diy, this is easily doable, it just takes time and patience. I would have liked a retaining rod that you bolt all the through the leading edge (bottom) to give it some additional rigidity to stop it flexing in strong wind. Also a clear rubber strip to seal the back would be good - this is also especially valid if you fit this as a complete piece, you won’t be able to seal across the top edge as you won’t be able to reach with a mastic gun! Doing each section allows you seal and then repeat for each bit as you go along 😉 A good, well made product at a sensible price that a diy’er can fit and get a great result. Obviously at this point, the porch hasn’t endured heavy rain or any strong winds for prolonged periods so I can’t comment on it’s longevity/performance.
G**H
Good product, good price, simple install. Recommend.
Bought 2 of these 3 section units and installed them in one run of 6. Straightforward installation, seems robust, very happy with the end result. The included wall fixings were perfect. Tip; measure, mark and drill the fixing holes accurately.
J**H
Not sturdy enough for strong wind conditions
The canopy consists of 3 panes and 4 supports. Only one of the panes can be secured on both side onto the supports. The other two are only secured on one side, that is the side where there is no pane on the other side of the support as screws go through the support. As there is some flex the unsecured side can come out on the front of the support during strong winds. Can be fixed by drilling small hole vertically through the support and fixing bar to put in pop nail, small bolt, screw, etc.
J**E
Connections don’t stay in place
Not good. Falls apart when trying to attach to wall. Then when eventually getting it on with 3 people it lasted a few days before the shelter connections displaced again. Would not recommend
G**D
Quality unit but challenging to assemble
This is a nice canopy at a good price. Delivery was really fast. The supports, panels and frames are well made and strong. Installing it was quite a challenge though. The supplied sleeve anchors would not hold in my limestone wall; I had to buy proper wall anchors - suggest anyone contemplating this do that anyway. The rubber sleeves for the panels were too short to seal fully and were very hard to insert in the frames in the cold. I gave up and used silicone to get the seal. The screws used to hold the frames together were rubbish and I used stainless self tappers instead. If you are planning to buy this unit make sure you've got two people and practise what you are going to do before committing to the wall bolts. Once up it's worth the effort. Oh and it might be easier to wait for warmer weather to increase flexibility - doing it in 8 degrees probably wasn't sensible.
K**D
Excellent quality canopy
This canopy arrived very quickly and was well packaged. Very good quality and easy to fix together but you do need about 3 pairs of hands to fix to wall! Haven't had any rain to test the canopy yet, but does look good :) !!
T**N
liked the price, not the quality.
Not quite what i expected. Brakets of plastic is not my thing...
D**R
Präzise und preiswert
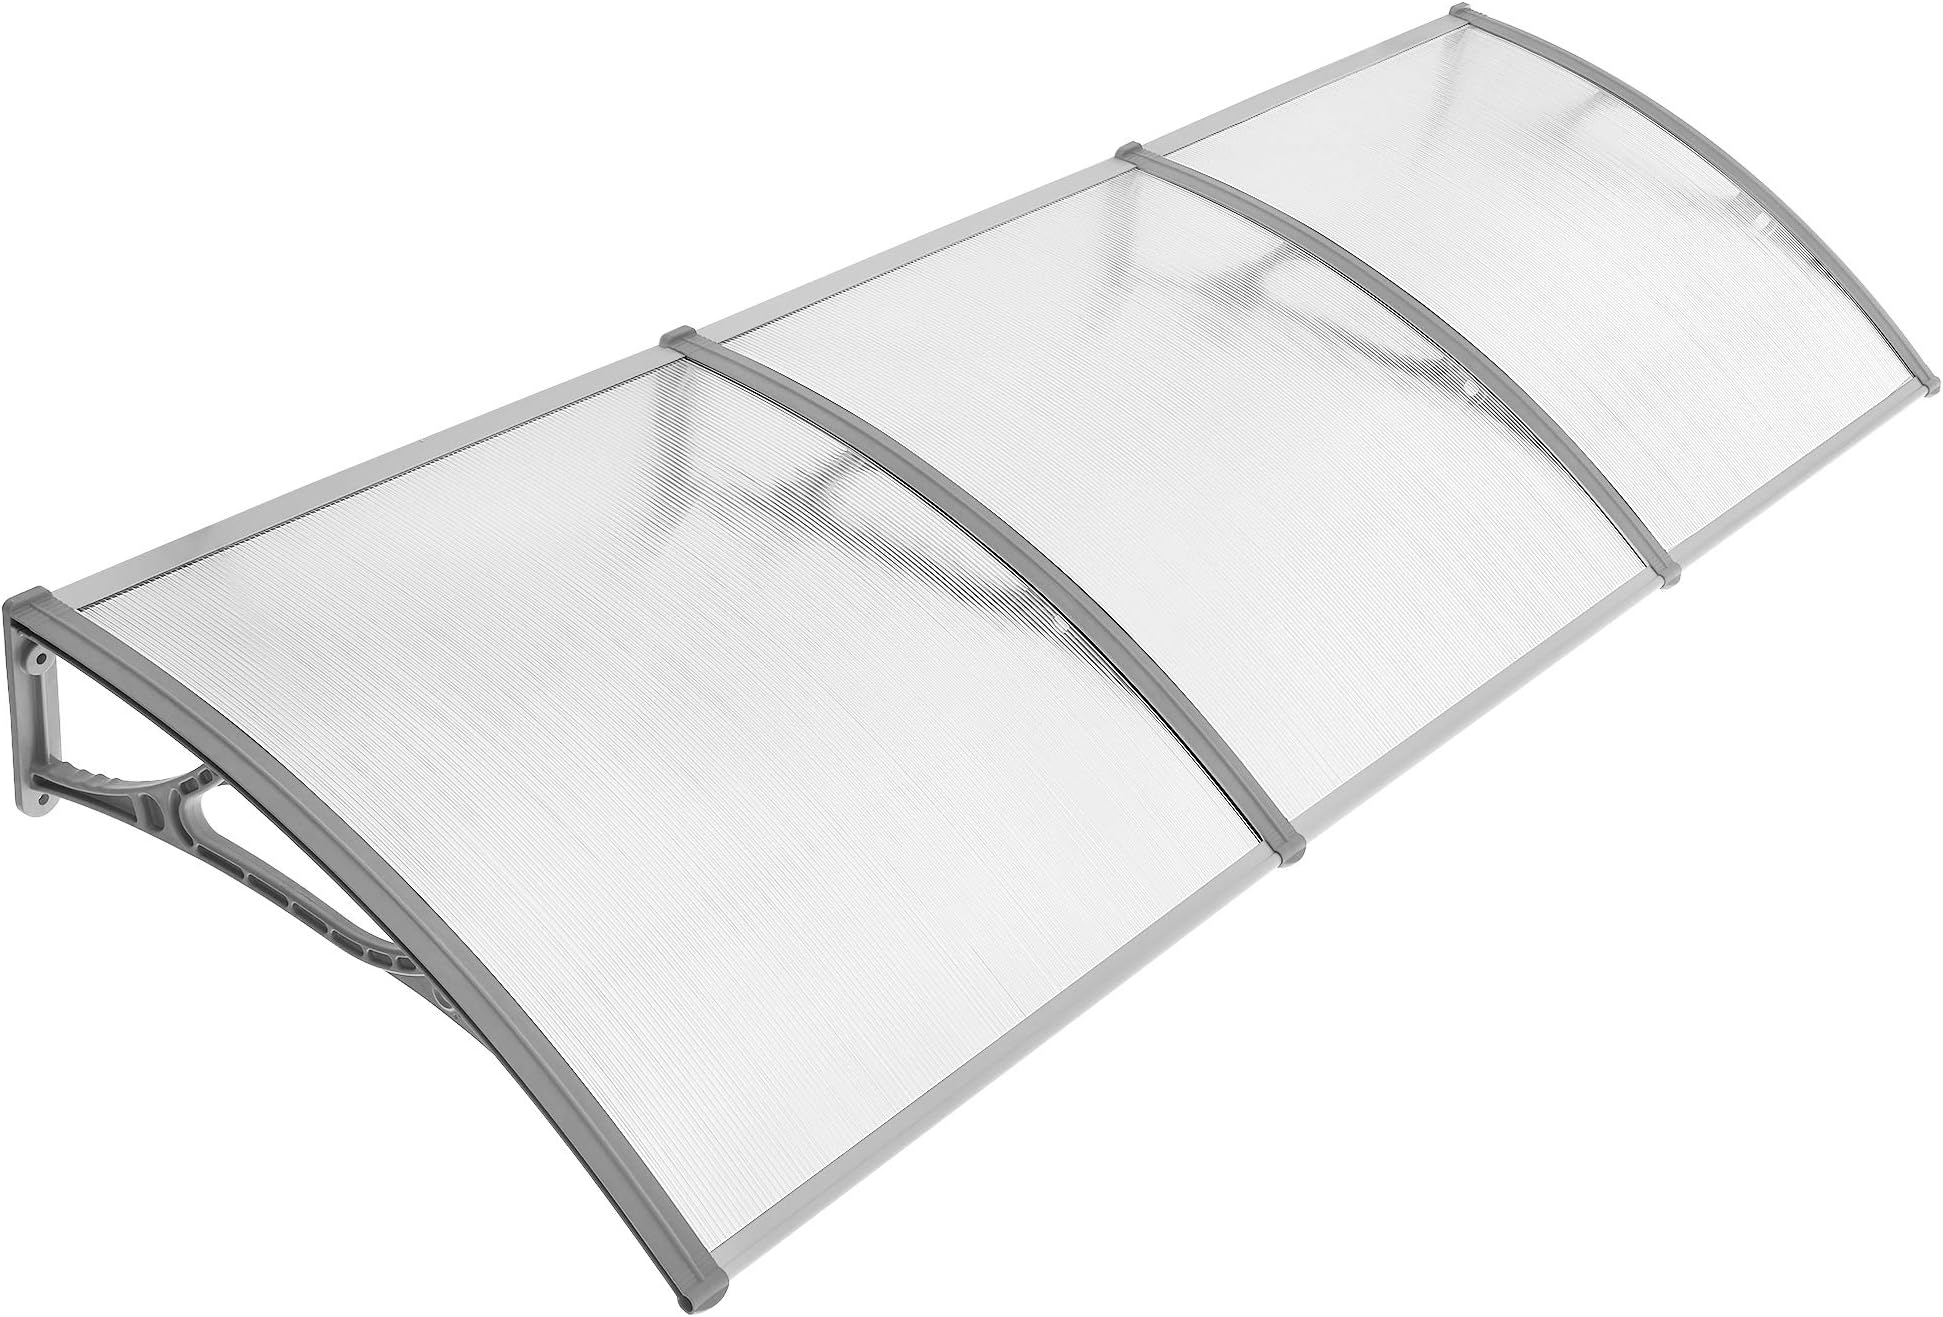
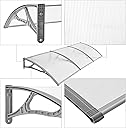
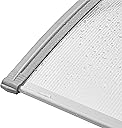
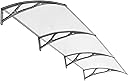
Gesamteindruck: Natürlich kann dieses Vordach keinen Schönheitspreis gewinnen. Hierfür wäre Edelstahl, Glas und mindestens der fünffache Preis erforderlich. Für unseren Zweck, hinter Haus und Garage das Kaminholz zu schützen, ist es aber ideal. Ich habe insgesamt sechs Elemente montiert, zwei weitere werde ich noch anfügen. Das einfache Verlängern des Dachs ist einer der großen Vorteile. Die Tragarme sind zwar Kunststoff, wirken aber sehr massiv und tragen das Dach inkl. etwaiger Schneelast sicher zuverlässig. Und meine Frau freut sich, da sie an den Streben Bügel aufhängen kann, um Kleidung regengeschützt zu lüften. Montage: Die Montage erfolgt gemäß der beiliegenden Anleitung (die deutsche Übersetzung ist grausam) in zwei Schritten: Zusammenbau der einzelnen Elemente und anschließend Anbringen der Elemente an der Wand. Dabei wird das erste Element komplett zusammengebaut, d. h. Tragarme an beiden Seiten montiert, sodass sich ein vollständiges einteilges Vordach ergibt. Die anderen Teile werden mit nur einem Tragarm montiert. Zu beachten ist, dass das Plexiglas nicht quadratisch ist. Die beiden Aluprofile werden auf die schmalere Seite aufgesteckt. Vorher wird die Schutzfolie auf allen Seiten einige Zentimeter abgezogen, damit sie nicht in die Profile eingeklemmt wird. Die Gummidichtungen müssen mit einer Schere auf die korrekte Länge gekürzt werden. Es empfiehlt sich zuerst das gerade Abschneiden auf einer Seite, dann dass passgerechte Abschneiden am anderen Ende, da die Gummidichtungen mit ziemlich schrägen Enden geliefert werden. Um die Profile mit der Dichtung vollständig auf das Plexiglas zu bekommen, habe ich mit einer Weichholzlatte und einem leichten Hammer nachgeholfen. Dann rutscht das Plexiglas sehr präzise in die Nut des Tragarms, indem man zunächst das runde Traufprofil in das runde Ende des Tragarms einführt und dann die Scheibe nach und nach in die Nut drückt. Den Tragarm legt man dazu auf den Boden (alten Teppichrest unterlegen), dann kann man mit beiden Händen die Profile führen und mit dem Knie die für erforderliche Biegung der Scheibe sorgen. Das Wandprofil hat auf der Unterseite eine kleine Nase, die exakt in die zugehörige Nut des Tragarms passt. Falls nicht, sind die Aluprofile inkl. Gummidichtung nicht vollständig aufgebracht und Hammer und Latte müssen nochmals her. Mit den kleinen Edelstahlschrauben wird dann der Tragarm mit den Profilen verschraubt. Die Schrauben müssen sehr vorsichtig angezogen werden, da sie im Aluprofil nicht wirklich greifen. In meinem Fall sind zwei Schrauben wieder heraus gefallen. Die Montage an der Wand erfolgt mit Spreizdübeln aus Metall. Diese sehr hochwertigen Dübel sind für unterschiedliche Materialien geeignet. Ggfs. benötigt man für Hohlziegel andere Dübel und Schrauben, aber der Hersteller kann ja nicht jede bauseitige Situation berücksichtigen. In meinem Fall hatte ich eine Unterkonstruktion aus Holzrahmen, und so habe ich lediglich die Schrauben verwendet, 8 mm (statt 9 mm) Löcher gebohrt und von der Rückseite eine Mutter mit Unterlegscheibe aufgeschraubt. Wenn die vier Löcher für das erste Element gebohrt sind, hält man das Element an die Wand und klopft die Schrauben (samt Dübel) durch die Löcher des Tragarms in die Wand. Wenn man mit Schulter und Kopf unterstützt, gelingt die Montage auch alleine, denn ein einzelnes Element ist relativ leicht. Und wenn die beiden oberen Schraubdübel erst mal in der Wand stecken, wird das Dach ja schon gehalten.. Die beiden Löcher für das nächste Element sollten erst gebohrt werden, wenn das vorhergehende vollständig montiert ist. Der horizontale Abstand der Löcher wird in der Anleitung nicht angegeben, ich habe 89,2 cm ermittelt. Durch die tiefe Nut der Tragarme hat man etwas Spiel in der Breite. Das Traufprofil ist ggfs. an der Seite leicht gespreizt, wenn es auf das Plexiglas aufgebracht wird. Ich habe daher die Enden des Profils mit einer Flachzange leicht zusammengedrückt. Dann wird das Einführen des Profils in den bereits an der Wand montierten Tragarm erleichtert. Zum guten Schluss habe ich noch an der Oberseite des Traufprofils den Übergang zwischen Profil und Plexiglas mit transparentem Silikon abgedichtet. Sonst würde sich darin sehr schnell Schmutz ansammeln. Bei Wandmontage empfiehlt sich auch eine Abdichtung zwischen Wand und dem Wandprofil mit Silikon (gemäß Anleitung). Und als Krönung werden den Schrauben noch die mitgelieferten schwarzen Kappen aufgesetzt. Fazit: Einfaches Vordach, aber stabil und präzise verarbeitet, und vor allem preiswert! Daher fünf Sterne von mir.
V**I
Prodotto buono ma .......non semplice da montare e poi.....
Prodotto di buona fattura sia le staffe che le lastre trasparenti di policarbonato. Molto solido alla fine del montaggio. Ho dovuto mandare indietro la prima spedizione perché un pezzo era danneggiato penso durante il trasporto. Subito rimborsato e spedito una nuovo nel giro di una settimana. Do 5 stelle, perchè il prodotto è ottimo, però due note negative : imballaggio scadentissimo che pone l'articolo a rischio danneggiamento e istruzioni di montaggio poco poco chiare solo per simboli senza spiegazioni o consigli. Consiglio comunque il prodotto . Preferibile essere in due per il montaggio, ..io l'ho fatto da solo ma è una faticaccia
F**A
Marquise plexi 275x90
C'est la 2eme que j'achète. L'installation est plus confortable à 2 mais possible à faire tout seul, si vous êtes habitué à bricoler. J'ai fixé les panneaux dans murs creux avec chevilles nylon fischer de 10 et tire-fonds correspondants. Plus rapide de fixer les panneaux les uns après les autres, cela permet de faire les trous de fixations de façon plus précise. J'ai fait une recoupe du dernier panneau car mon mur est en biais (pose entre 2 murs pour protéger barbecue et autres), c'est faisable mais c'est plutôt galère car à la coupe, le plexi chauffe et fond. Je l'ai coupé avec la scie sauteuse, tout doucement mais sans marquer l'arrêt sinon, la lame se bloque sur le plexi fondu. Il faut ensuite passer un peu de papier de verre sur la coupe pour enfiler le joint dans de bonnes conditions. Le rendu est chouette. Cela fait 2 ans que j'ai posé la 1ère et elle n'a pas bougé. Le rapport qualité prix est bon.
A**.
Alexandre
Molt bon producte. Compleix amb la expectatives que teníem. Enviament ràpid, bon embolcall, bons acabats. Fàcil de muntar, dins de la seva lògica dificultat. Excel·lent qualitat preu.
A**L
Buena compra (de momento).
La primera impresión no es mala. Los soportes, gomas y remates parecen sólidos y con cierta calidad. Las instrucciones son mejorables. No dejan clara la posición que deben tener las piezas de metacrilato y éstas no son cuadradas, hay varios centímetros de diferencia entre uno y otro lado. Así que, si no reparas en ello, toca desmontar lo que ya lleves hecho y empezar de nuevo. Es imprescindible que el montaje lo hagan dos o -mejor- tres personas. El motivo es que hay que encajar todas las piezas en el suelo antes de sujetarlo a la pared. Para hacer los agujeros, presentar el toldo y marcar no es una buena idea. Haría falta mucha gente para sostenerlo y sería muy difícil que los soportes quedasen a la misma altura. Se pueden marcar los sitios de los agujeros sobre algo largo (cajas de cartón desarmadas y pegadas hasta conseguir los tres metros) y luego trasladarlos a la pared. O, más fácil, hacerse una plantilla. Yo usé dos listones de madera para taladrar en ellos la distancia correcta. Uno con la distancia vertical (ahí no hay apenas margen) y otro con la horizontal (ahí hay un poco de margen en los agujeros superios y más en los inferiores. Se empieza por una esquina y se hace el agujero superior. Metemos uno de los tirafondos y vamos a hacer el agujero inferior, comprobando con el nivel que queda perfectamente vertical. Y todos así. Si somos un poco cuidadosos, los agujeros coincidirán perfectamente. Una cosa que ya veía venir es que las piezas se pueden desencajar fácilmente. Los tirafondos que lleva sujetan sólo una de las placas, la que le queda a la derecha o a la izquierda. Así que el resultado son tres piezas que quedan sencillamente encajadas de una manera bastante endeble. La solución no fue complicada. Pasé dos líneas de cable de acero de 3 mm por los huecos que hay en los soportes, puse topes en los extremos y lo apreté todo a muerte. Espero que sea suficiente pero, de ser necesario, hay otro hueco de unos dos o tres centímetros por donde se podría pasar una barra metálica o de madera para conseguir el mismo objetivo. Un saludo.
Trustpilot
3 weeks ago
1 month ago