

Buy anything from 5,000+ international stores. One checkout price. No surprise fees. Join 2M+ shoppers on Desertcart.
Desertcart purchases this item on your behalf and handles shipping, customs, and support to British Virgin Islands.
🔧 Elevate your lid game — smooth, secure, and built to last!
The Apexstone 80N/18lb Gas Strut set offers a precise 18-pound lift force with a compact 6.9-inch length, designed to support lids weighing 18-35 lbs and widths between 9-15 inches. Operating reliably across a wide temperature range (-10℃ to 50℃), these gas springs provide soft-open, secure lid support up to 90 degrees. Ideal for gun safes and cabinets, the set includes two struts backed by a 1-year warranty, delivering durable, easy-to-install replacement parts that prevent accidental lid slams and enhance safety.


| ASIN | B0156P6YVC |
| Auto Part Position | Rear |
| Best Sellers Rank | #303,174 in Automotive ( See Top 100 in Automotive ) #1,601 in Automotive Replacement Shock Lift Supports |
| Brand | Apexstone |
| Brand Name | Apexstone |
| Color | Black |
| Compressed Length | 4.7 Inches |
| Customer Reviews | 4.4 out of 5 stars 3,195 Reviews |
| Extended Length | 6.9 Inches |
| Included Components | Iron&ABS |
| Item Weight | 0.44 Pounds |
| Manufacturer | Apexstone |
| Material | Stainless Steel |
| Material Type | Stainless Steel |
| Model | FBA_GS1802 |
| Operating Force | 18 Pounds |
| Operating force | 18 Pounds |
| Part Number | FBA_GS1802 |
V**S
The installation instructions that came with the spring are not very useful or complete
Gas springs are neat devices that can help doors or lids open with minimum effort and maximum safety. I bought a pair of springs to hold open the doors of two small cabinets (one spring per cabinet) that are installed horizontally in the soffit area above existing wall cabinets in the laundry room. The installation instructions that came with the spring are not very useful or complete. The doors and the cabinets are about 9-in high, so I chose the Apexstone 80N/18lb 7-in long springs for the application so that the spring physically fits within the cabinet. The small lower end of the piston of the spring is pinned to the wall of the cabinet near the bottom front and the cabinet and the upper larger cylinder end attaches to door near the hinge. It took a bit of trial-and-error to get the proper location of the upper pin on the door. In the hope of saving others some grief, let me outline the logic and the process I used for finalizing the critical location of this door pin: 1. The spring (cylinder) is installed when the door is open (hinged horizontally at the top of the cabinet in my case) and the spring is fully extended and holds the door open horizontal at about 90 Deg. 2. When the door is closed by pushing it down and rotating it, the weigh of the door and the hand force compress the gas spring and gently close the door in a vertical position. 3. In the closed position the door is kept closed due to the action (moment) of its weight which is stronger than the spring action (moment) around the hinge. The spring has very little resistance in this position. 4. The key objective in selecting a proper position of the door pin is to balance the action (moment) of the spring with the action (moment) of the weight around the door hinge. It is like balancing two riders around the pivot of a teeter-tooter swing. One rider represents the weight of the door and the other simulates the spring force. The pivot is like the door hinge. The two actions would be in balance when the products of the weight (force) times the distance of each rider from the pivot are exactly equal. 5. Applying this balance requirement to my situation, the product of the weight of the door (Wd) times 1/2 of its height (Hd) or the distance to the hinge should balance or be equal to the product of the spring force (Fs) when fully extended times the critical distance (Sd) of the upper spring end from the hinge. This means the product Wd X (Hd/2) must equal the product Fs X Sd. If three of these quantities are known, one can solve for the fourth. That is exactly the case in my situation: the manufacturer lists the spring force Fs as 18lb, one 1/2 of the door height (Hd/2) is 4.50-in, and the weight of the door Wd is 4 lb. So knowing the three quantities I can determine the fourth, the critical distance Sd required for balancing the spring and the door actions. The distance Sd is Wd X (Hd/2)/Fs. Computing Sd = 4 lb X 4.5 /18 lb = 1 in. 6. So the spring pin should be located on the door (the critical distance Sd) about 1 inch from the hinge. 7. I pinned the piston (bottom) end of the spring inside the cabinet at the lower right front corner and attached the upper cylinder end on the door at about 1-in from the hinge. The bracket that accepts this upper end of the spring has long slots for adjusting the critical distance. 8. It turns out, I had to increase the critical distance to about 1.25 in to allow for the damper action in the cabinet hinges. 9. I hope the attached pictures will help clarify the verbiage of this long-winded write-up. 10. One last comment: to separate the cylinder spring from its pivots, you need to insert a little screwdriver below the chrome split ring in one of the two locations provided while pulling out to pop the socket out from ball joint at either pivot. The springs work great, almost magically. They prevent the door from closing inadvertently on the fingers. Amazon fulfillment is always top notch. Little tricky to install, but you will be greatly rewarded if you are patient and do not give up.
S**I
Sentry Pistol Safe gas strut replacement
The gas strut on my Sentry Pistol Safe stopped working after about 4.5 years. I read the Amazon reviews for the Apexstone 80N/18lb Gas Strut and decided to give it a try. Everything I read was accurate and the Apexstone product is an almost perfect replacement... and works great!! The only difference between the Apexstone and the gas strut that came with the safe is the lid lift height which is an insignificant an inch or so less. This is not a problem at all... the lid still lifts well and high, allowing more than ample access to the contents of the pistol safe. Installation is a breeze if you have the following tools: a medium Phillips head screwdriver, an 8 mm metric box or open end wrench; and a 13 mm metric box of open end wrench. Simply unscrew and remove the fittings and spring from the old gas strut, unscrew and remove the fittings from the Apexstone strut and replace them with the fittings that you removed from the original strut. Install the Apexstone strut (and don't forget the spring) and the job is done. With the proper tools you should be able to complete the removal and re-installation in 5 or 10 minutes. It is as quick and easy as that. This Apexstone 80N/18lb Gas Strut fits great, works great and costs a lot less than a replacement gas strut from Sentry. If the gas strut on your Sentry Pistol Safe is getting a little "tired" it is time to replaced it and the Apexstone 80N/18lb Gas Strut is perfect and solves your problems. The purchase includes two gas struts so you have an extra to keep handy for the next time you need a replacement. Gas struts don't last forever. This is a great product and the perfect solution for Sentry Pistol Safe owners. I recommend it highly, and you can't beat the price.
S**T
Great hinges, used for ottoman to hold books in babies room
***Added a short video of the ottoman lid closing using these shocks*** We found an awesome ottoman we really liked four our babies room so we bought it to hold all of his books. Once we got it home and loaded with books we realized the top was really heavy and closed hard. I knew that as soon as our kid was standing and walking he would smash his fingers. I had some cabinet soft close hinges that I tried to add but they weren’t enough so I went on the search for shocks and found these. Glad I did as they work great! Not the original design for these but nonetheless did what we wanted. The only slight complaint is they work well until the last inch or so and then close quickly. I didn’t remove any stars though because these weren’t designed for an ottoman top to not smash a kids fingers so I don’t tbink that’s a product shortcoming. I went ahead and still used the soft close hinges as that helped remove that last little bit of force when closing. The other positive is now the top stays open much easier. Before it didn’t stay open very well but no issues anymore. Included a couple pics. Took a little fiddling around with gas shock positions to work best. Essentially installing it one way the shock “pushes” and the other way it “pulls”. So I flipped them around a couple ways to find the best combo which turned out to be having one pushing and one pulling. Let me know do you have any questions as this was a little out of the ordinary but we are very happy with the results!
C**.
"Decent" replacement for failed Sentry Safe
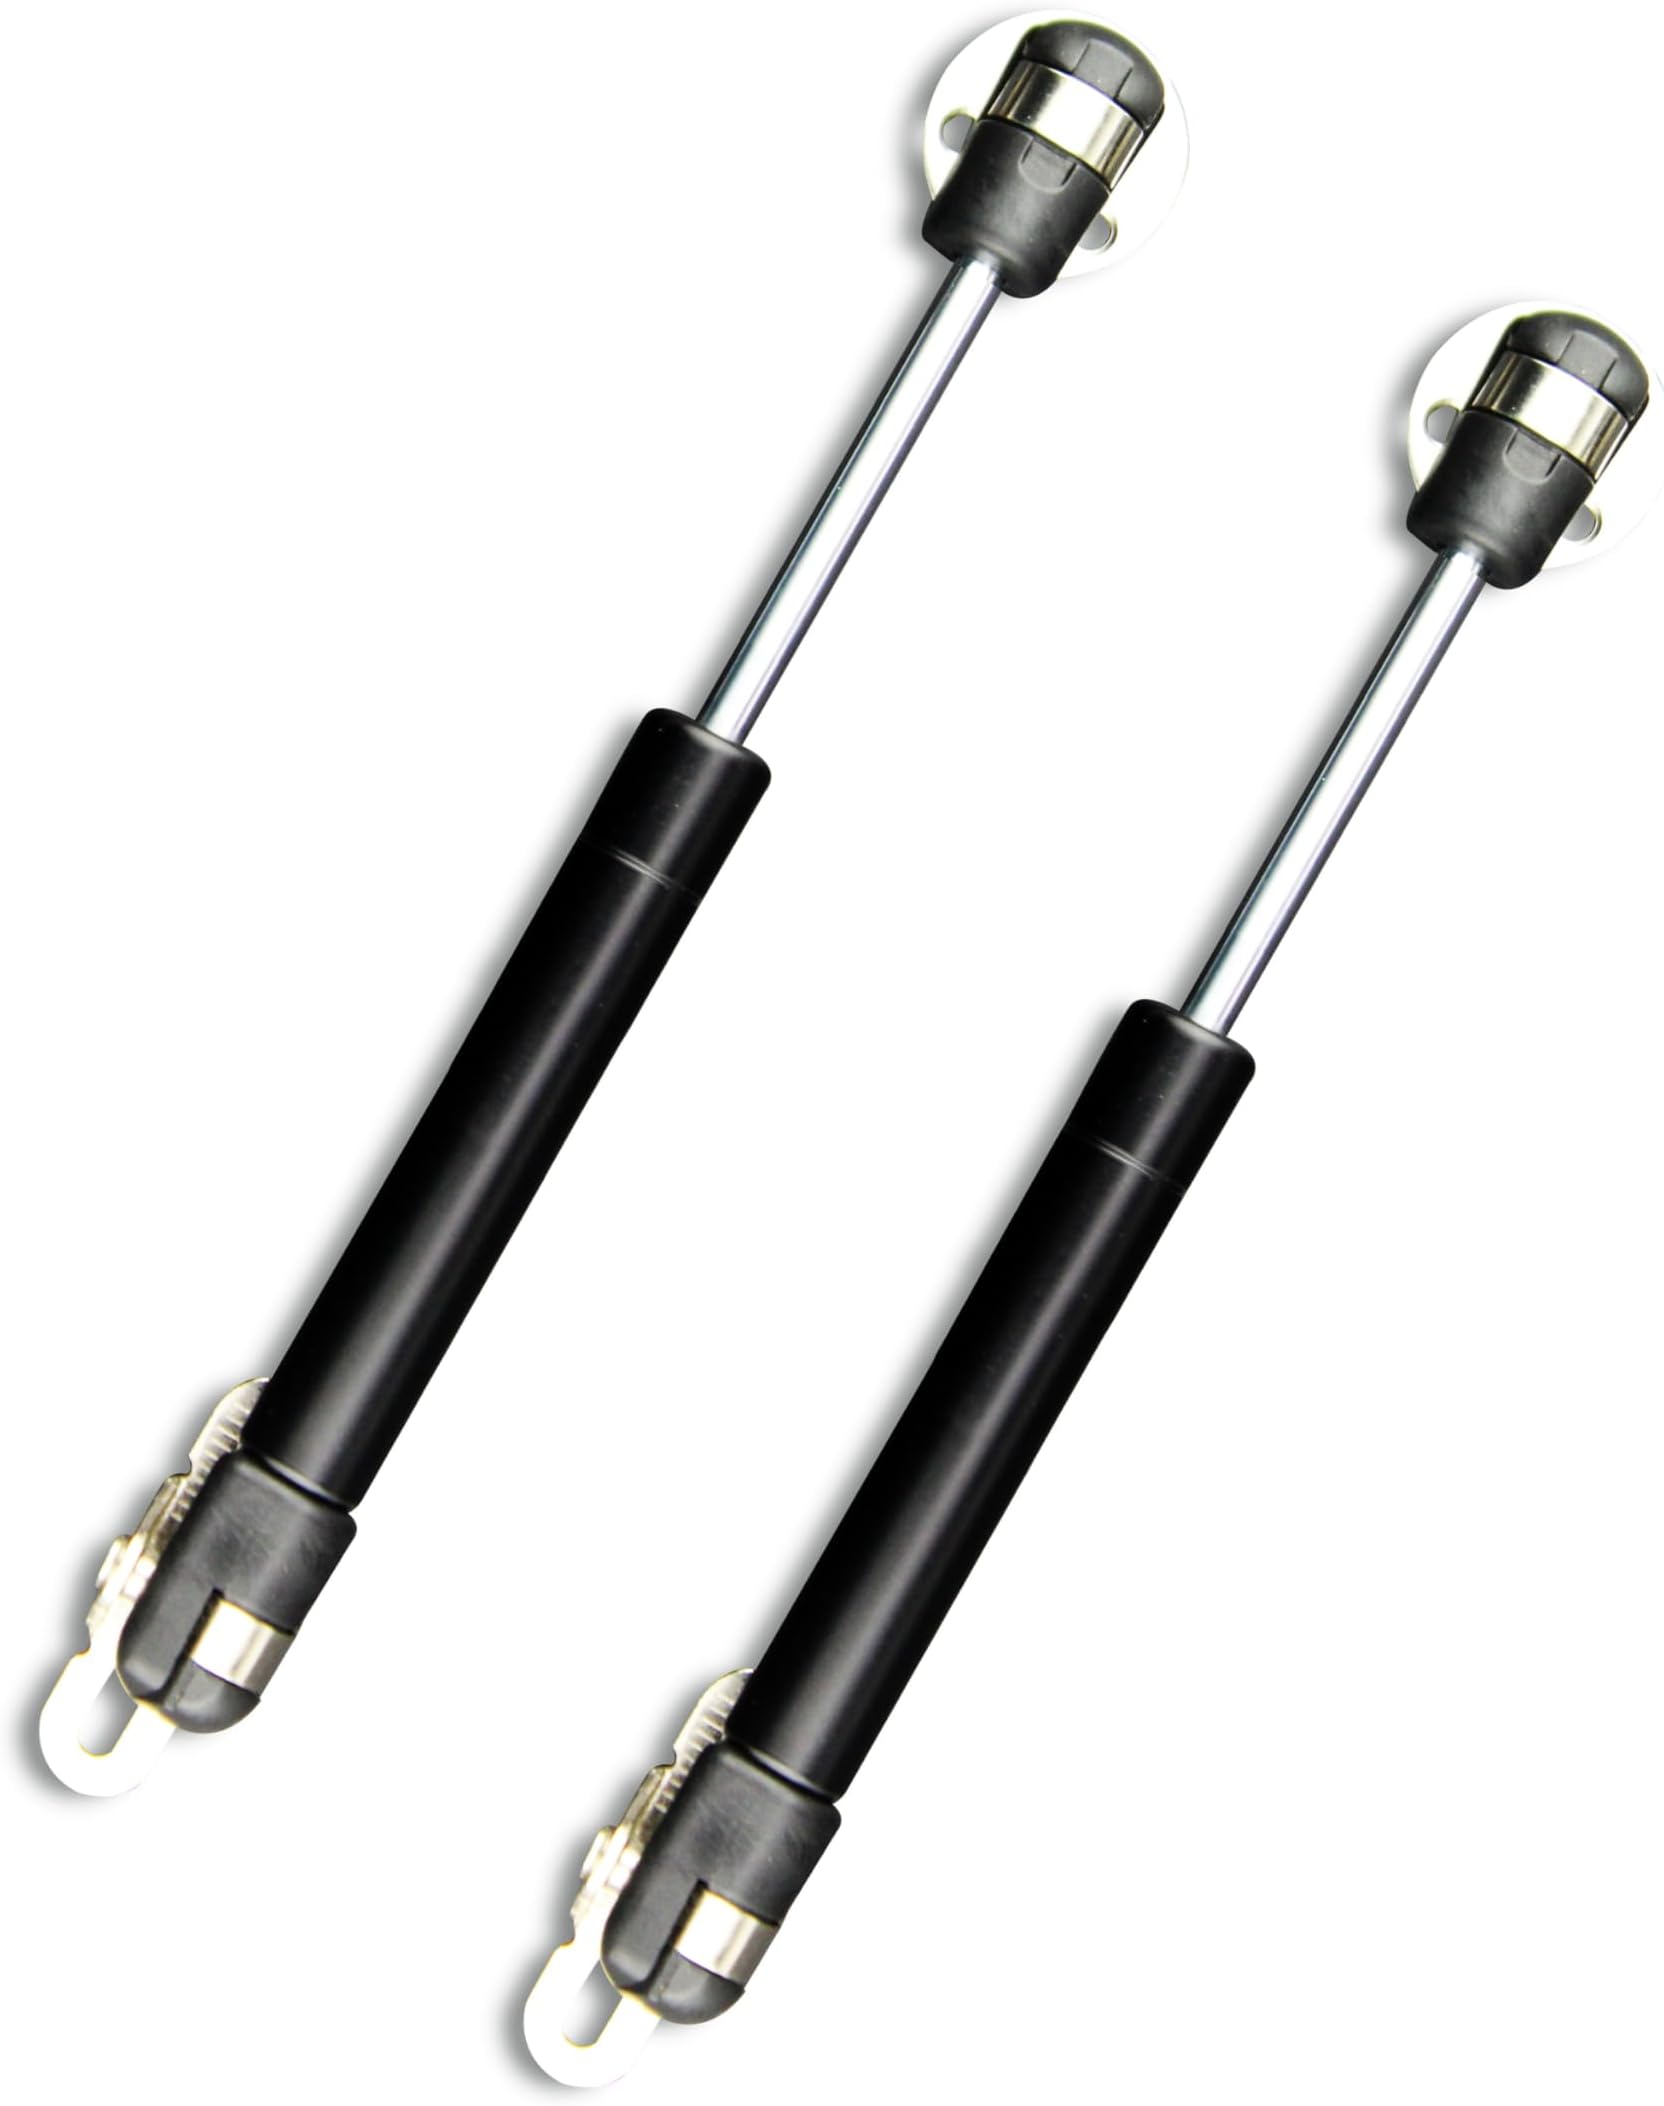
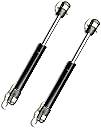
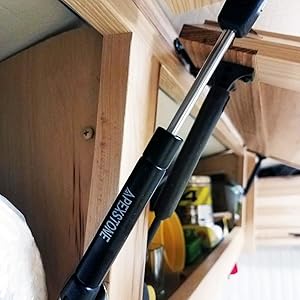
Like others here, I used one of these struts to replace the failed piece in my Sentry pistol safe. This was "mostly" a drop-in replacement, but there are a few things that should be noted. - As others have said, the safe does not open as much as the original. IMO, this is not a super big deal especially given the cost. - The original strut has two mounting points -- one to the base of the safe, and the other to the lid. The connection point at the lid with the replacement strut fits identical to the original, but the one at the base does not. The original strut, on one end, has a hole that a screw threads through, to two posts on the base of the safe itself. The replacement does not, so it just sort of pivots on one of the posts. I really don't see this being an issue, even with daily use. - I had to remove one screw from the safe itself, on the left side of the base, as the head of the strut that attaches to the lid was hitting it when closing the lid. It does not seem to have made any impact on the integrity of the safe. All in all, for the price.. I'm mostly impressed. I've heard that an actual replacement strut is on intergalactic backorder from SentrySafe, so for now, this may be your only option. And heck, you end up with a second one to keep around just in case.......
P**R
Work perfect, not that hard to install- RV cabinets
First, I couldn't believe these were going to work- I could hardly compress them by hand- but other reviewers said they would work, so I took a chance- and they really do. Yes, compress them a couple times just to make sure they aren't faulty (and you'll have to use a lot of force), then start installing. I found a you tube from 'Airstream Geek' that made sense to me, so that helped. I had a couple work arounds I had to do due to the construction of my cabinets, and I tried to show in pictures. The lower attachment point was too narrow so I had to add a small block, no big deal. A smaller cabinet had a different layout, so after I put the top piece on the cabinet wouldn't close- in trying to take it off, the screw stripped (they do strip easily- one thing that was a problem). So, I turned the bracket thingy at an angle, and low and behold, the strut still works fine. I am thrilled to not have to hold cabinets open with my head or juggle things any more. A bit of advice- there is a silver part on each end that helps hold the strut onto the balls- you have to move them up (pry with a screwdriver)- it's easy to do- on the first one I took them all the way off, and it took longer to get the darn things back on than installing the strut. On the last 3 I just pushed it up to the ends of the strut- apparently the correct way to do it, and then it was easy to slide back down.
A**E
Perfect fit
Exact fit, works better than origin
L**C
Sentry gun safe strut replacement
The door on my Sentry handgun safe stopped popping open after several years and I had to slip a small screwdriver in to get it open once I activated the unlock. Good YouTube videos on how to replace it with this gas strut. It was super easy - didn't actually have to use the wrench / socket as once you unscrew the lower end you can simply unscrew the old strut from the end mount and replace it with the new one (once you unscrew the ends of the new strut). Then screw on the lower end from the old strut, screw it on the new strut and put the screw back in the lower end in the safe. Make sure to transfer the spring from the old one to the new one as well. Took less than 5 minutes. True, the new strut doesn't open as far as the old one did, probably 60/70 degrees instead of 90 degrees, but open enough that there will be no problem retrieving a pistol in an emergency situation.
K**T
Junk
These broke apart as soon as I used them after putting them on. I wish I could give a minus star.
E**G
Very good value.
I bought these for a modification that I wanted to do but unfortunately they were not suitable for my needs. This is not the fault of the product, which seem very well made, as I wasn’t using them for their intended purpose. As they didn’t cost much I decided to keep them as I will find a use for them in the near future.
A**R
Very light use, but working so far.
The door they lift is light, and opened infrequently. But so far so good.
D**.
Cylindre de retenue
Pour le maintien de porte horizontale, Tête en plastique fragile, une a cassé à l’installation lors de son insertion
D**I
Open package missing instruction sheet
Even though I can find instructions online, but it is not ethical to sell returned product with missing information as new product.
H**.
Cheaply made ,lasted a week.get what you pay for
No gas in shock
Trustpilot
1 month ago
2 weeks ago